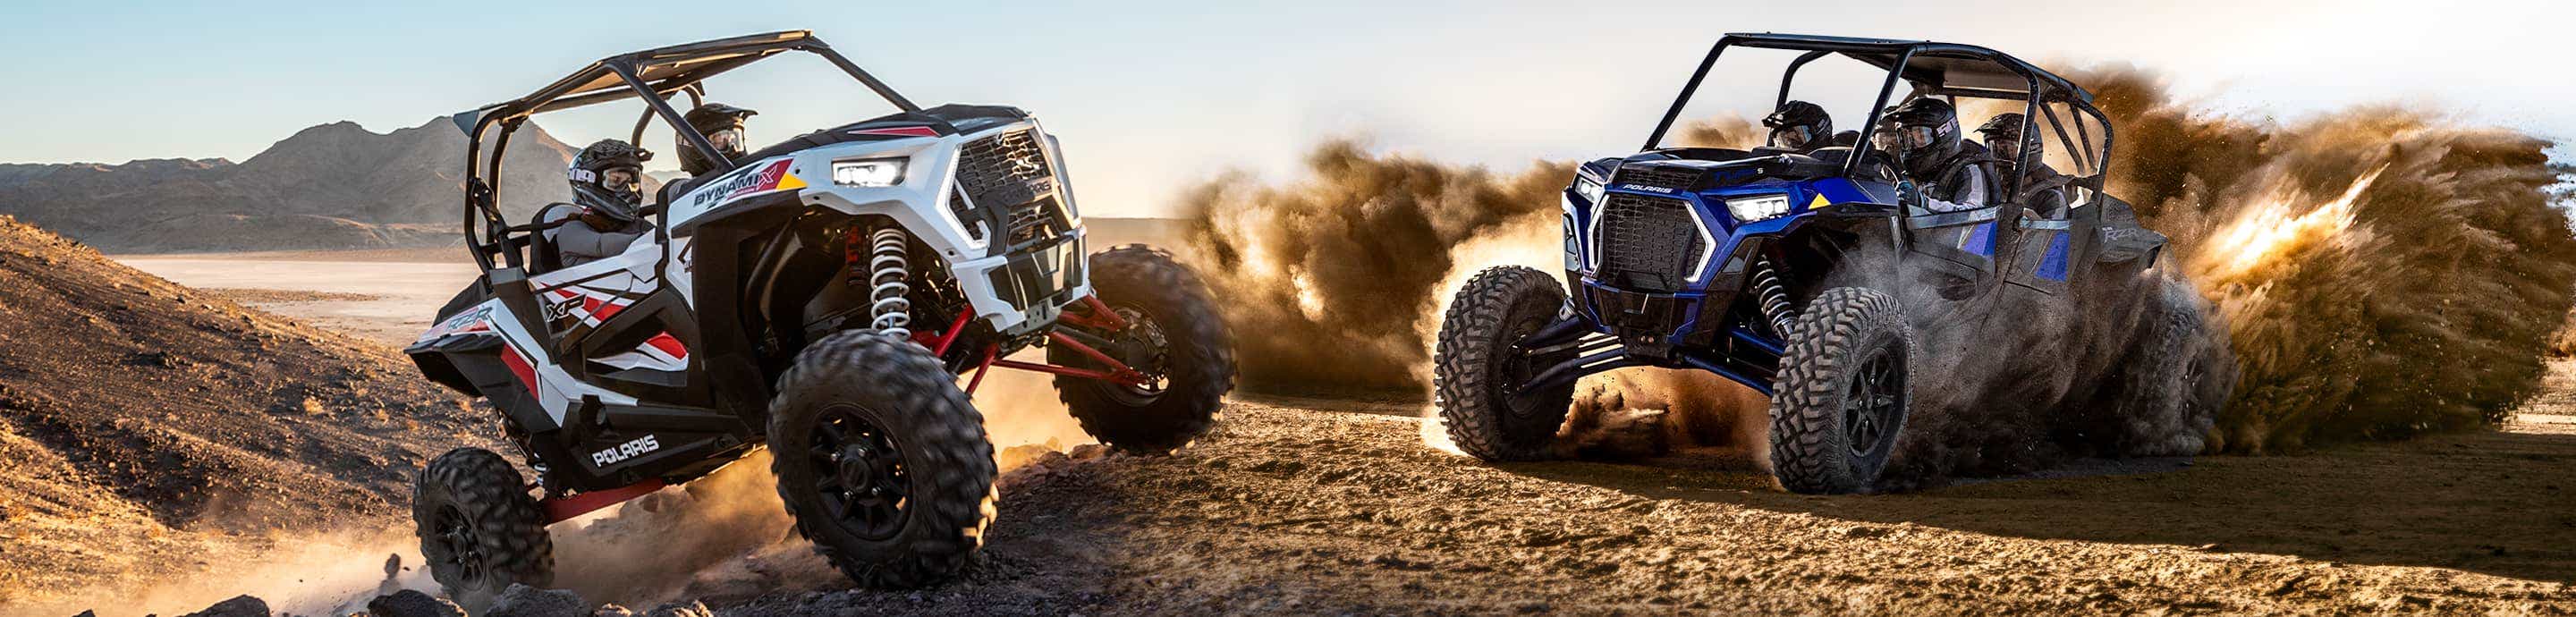
Polaris RZR Forum - RZR Forums.net banner
21 - 40 of 55 Posts
I’m cheap and made my own but these guys have some nice ones.


Dangerous website, they have some very nice stuff for fabricating.
 
Discussion starter · #22 ·
I’m cheap and made my own but these guys have some nice ones.


Dangerous website, they have some very nice stuff for fabricating.
Ya I’ve seen those before. Been lucky enough in all the bends and cages we’ve done to not need one. Only (so far) had to redo one bar and it was the very first one I tried to reproduce a double plane bar for the other side of a cage. I’m cheap. Don’t wanna spend and sometimes can’t spend on cool new tools!!
 
Ya I’ve seen those before. Been lucky enough in all the bends and cages we’ve done to not need one. Only (so far) had to redo one bar and it was the very first one I tried to reproduce a double plane bar for the other side of a cage. I’m cheap. Don’t wanna spend and sometimes can’t spend on cool new tools!!
If you have an angle finder you can just zero it on the die then lay something flat across the previous bend to create the plane for you to measure. Works the exact same just can be a little difficult. That’s how I used to copy tubes when I was building headers for a living, it works great.


Erik Petersen
Owner
Mad House Customs
T: 704-980-9753 E: Erik@MHCFab.com
www.MHCFab.com
 
Discussion starter · #27 ·
Image

Workin on a video! Possibly have a update video in a few days. Got caught up on work and finally got some free time to get back on the buggy. Got the door bars in and then decided to start with the over the head cross bar on top to give us a point to build off of.
Image

Always want to put some bends in that top bar but absolutely hate to do anything at all to compromise strength so it stays straight. And also the lines on this just look sooo good I hate to take away from it. So mounted that bar in. Then went to the back for the over the engine bars/bracing. We usually like to throw in some different angles that stick up some to break up and add some different lines but again we decide to keep it pretty sleek looking. We kicked them out to the side because there is gonna be a small bed back there for a cooler and possibly small tool box. We’re going to put something in between these bars to stiffen everything up but gonna wait until we get the radiators in to see if that bar needs to be in a location to pick up some mounting points.
Image

the radiator fan will be in between those bars to shoot heat out that way. Paneling with be in the little triangles. Also considering putting a rear deck in it to really clean up the look in the back. Always a spot that doesn’t get any attention on any builds to make look good and finished.

So then we sat back drank some redbulls and planned out our next moves. Million ways to skin a cat but we gotta come up with a good one on this build. We know what we’re after now. Tomorrow gonna out a sick upper windshield bar in that’s going to V down more than we’ve done before. The lower windshield bar is going tocome Up at an angle then flatten out where we can bring theconsole off of and run the hood bars into. Add some intrusion bars to match the lines we’regoing after. The upper intrusion and upper windshield bar is gonna kinda funnel the roofline down to it. Then we’ll add the other roofbars to tie in the front and rear of the buggy. So I’ll have another post tomorrow.

gave the owner a list of parts to bring us to get fit in since we’re going to be real close to having this wrapped up and off to him to finish up. Hopefully after tomorrow it’ll be ready to weld what we have done and the.all the major stuff will be done. bracing gussets and all the pia little stuff to do to finish it out.

This is turning out pretty bada$$. May not want to let the owner have it lol. Have a happy new year everyone!
 
Discussion starter · #32 ·
Curious about the running gear, what you have planned? Motor, front diff, etc.
The customer has a 2019 rzr XPT two seater going into this. I believe he has a stage 3 tune. 53% low gear reduction in transmission. He has a rs1 diff to put in it. Last I know he’s putting full ORB suspension on it. 35” sticky roxxzillas. I don’t know what he’s going with on the driveshaft. We’re getting the chassis to the point where all he has to do is build and mount a fuel cell and have it powder coated. I believe he’s handling the rest of the installation to make it turn key but we’ll definitely be there for the first ride to see the 100% finished project
 
Discussion starter · #34 ·
Finally getting back on track and locking down to get this sucker done! Welding it up today. Finish welding tomorrow and hope to get driveline in so we can get to some final fit and finish. I’ll snag some pics tomorrow
 
Discussion starter · #39 ·
Probably not the first time this buggy’s gonna be on its side lol.

Disclosure-not the prettiest welds but they stick!!

The box is kinda hard to get in some spots and get welded but we got it.

Now to get some parts on it and fit n finish the interior and some various mounts and finish up with some bracing.
Image

Image

Image

Image
 
Probably not the first time this buggy’s gonna be on its side lol.

Disclosure-not the prettiest welds but they stick!!

The box is kinda hard to get in some spots and get welded but we got it.

Now to get some parts on it and fit n finish the interior and some various mounts and finish up with some bracing. View attachment 700024
View attachment 700025
View attachment 700026
View attachment 700027
Ouch man, that one’s gonna have its own pulse when you’re laying in bed tonight!!
 
21 - 40 of 55 Posts